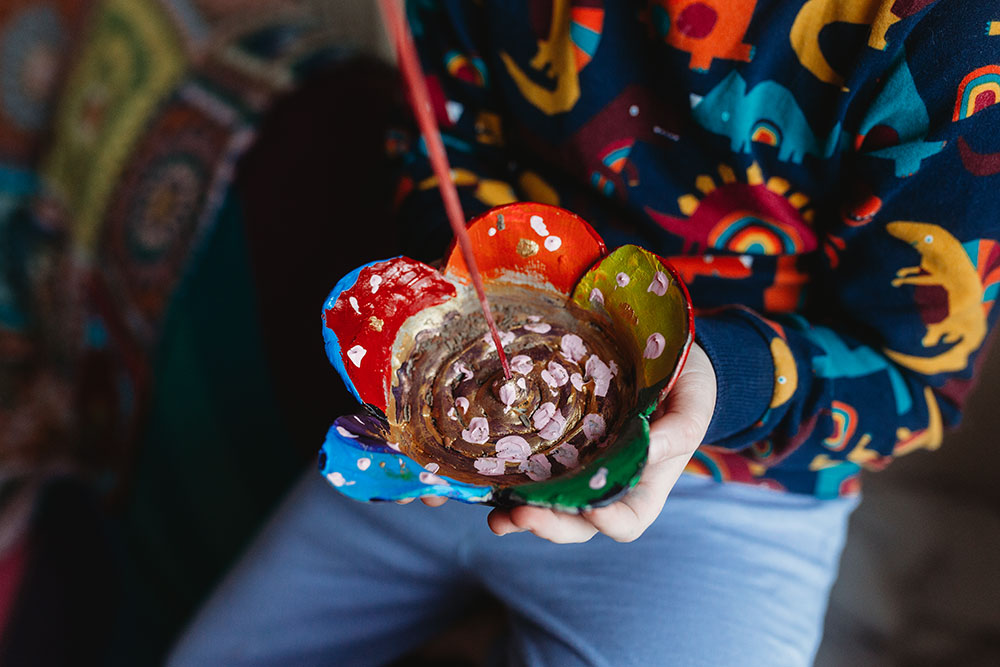
Incense Holder
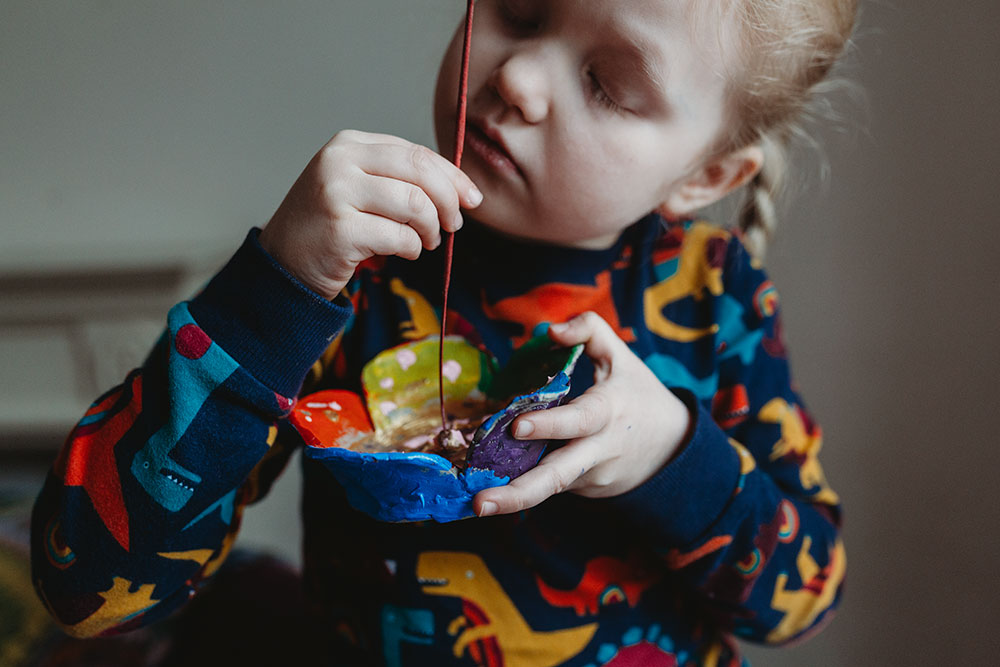
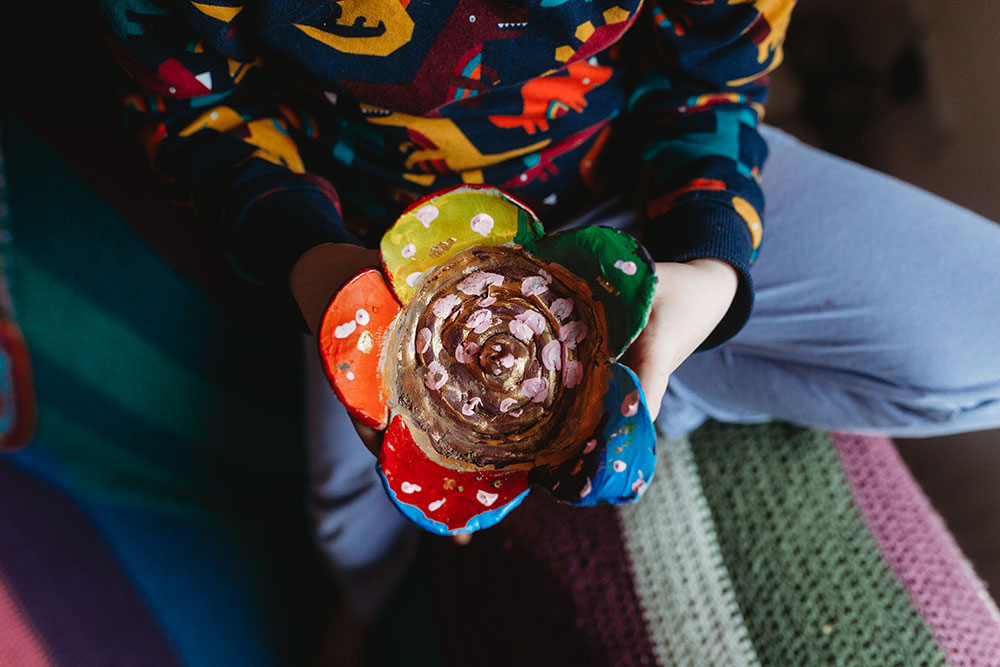
This is currently one of our favourite creations: Our first ever incense holder! I am absolutely in love with how it turned out and Nixie is so incredibly proud of it. I just wish I could place it somewhere in our lounge where we could actually see it instead of having it at the top of the bookcase where it's almost hidden from view but unfortunately I don't quite trust that Forrest wouldn't grab it and break it so until we are passed that stage it will just have to be kept away.

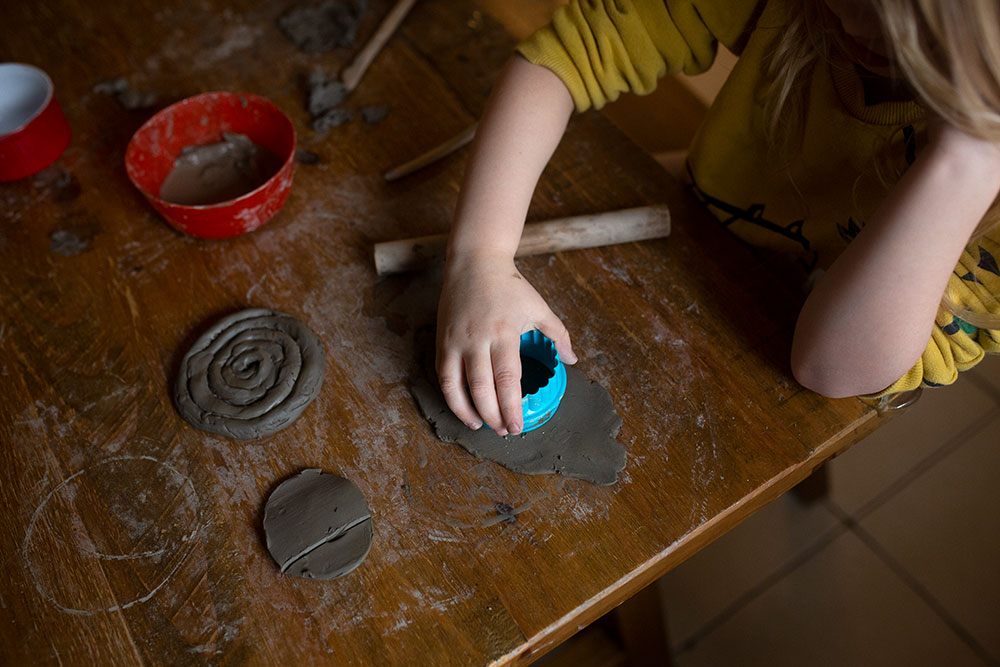
I was just thinking the other day how amazing it's been making things with an actual plan of creating something specific and creating things that have several steps. I don't know when we reached this stage but it's been really fun! And Nixie has been really enjoying it too and it's actually kept her focus. When me and Nixie work on projects like this I just give Forrest a bit of clay and hope that he let's us get in with it. He loves to explore and does whatever he feels like, this particular session he especially loved adding water to the clay to make it really slimy and gooey!
We had bought a flower shaped incense holder when we were in France a few years ago and the idea that we could make one ourselves popped into my mind so we decided to try and it couldn't have turned out any more perfect to me, this will forever be one of my treasures.
I've tried to share how we did it below in case you'd like to make one yourself.
Materials
Air dry clay
Round cookie cutters
Bowl of water
Some clay tools but a knife and fork would work too or even a chopstick
Acrylic paint
Instructions
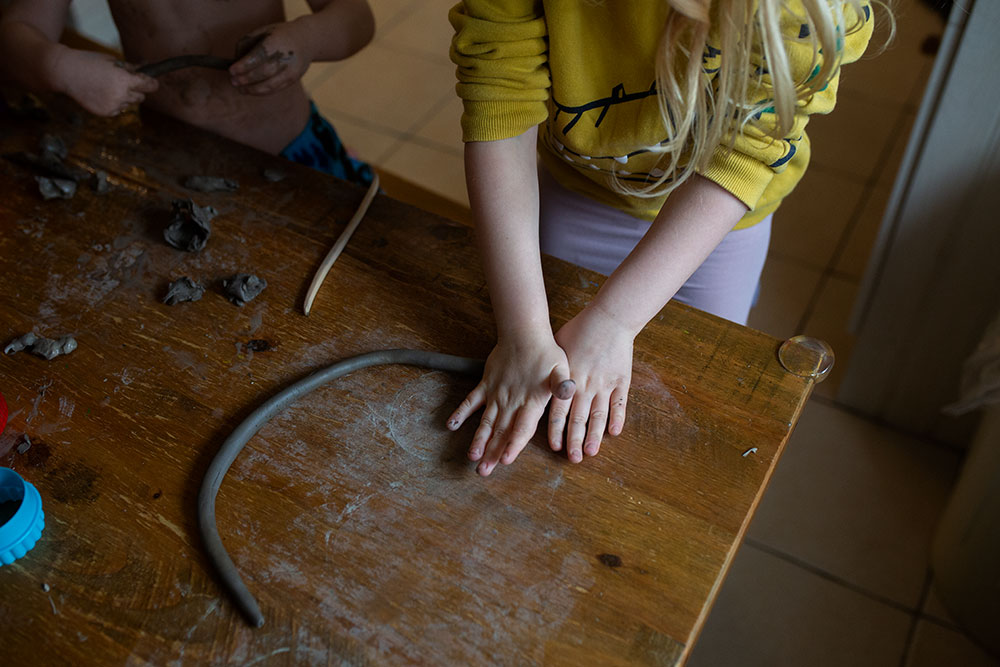
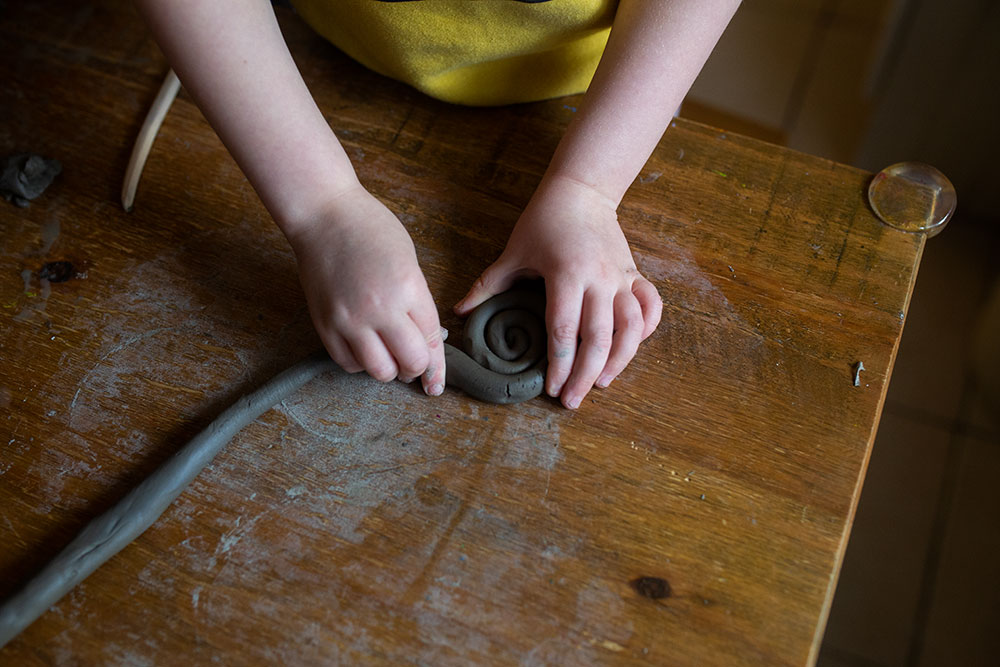
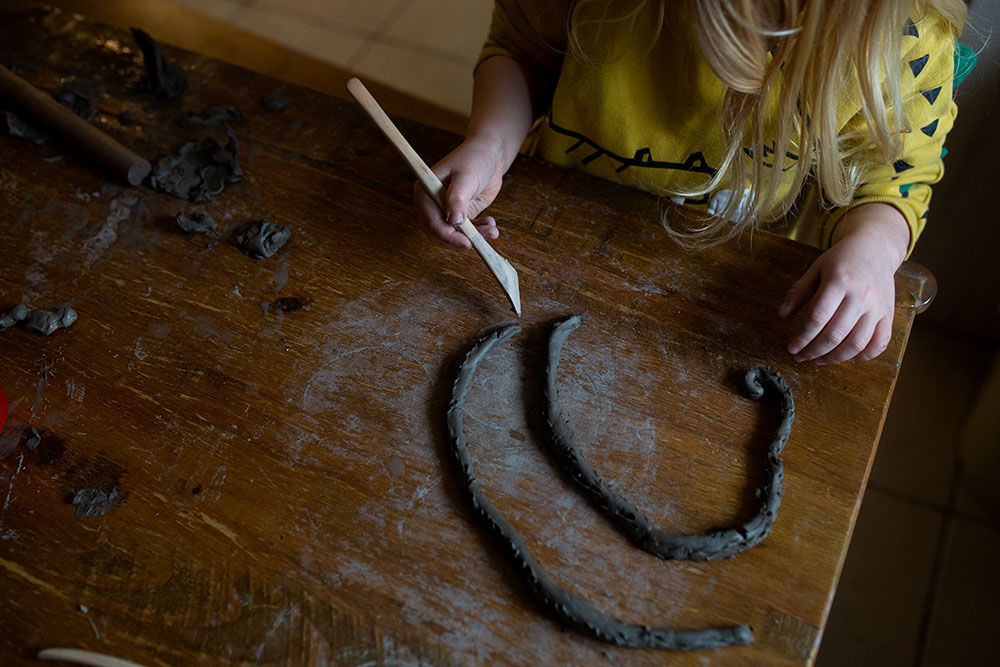
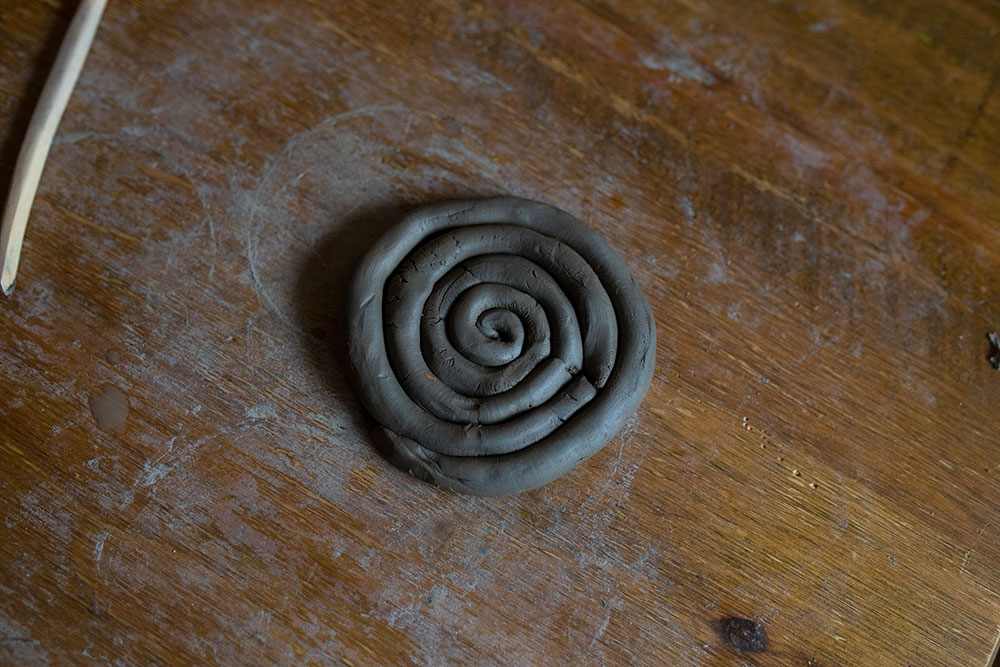
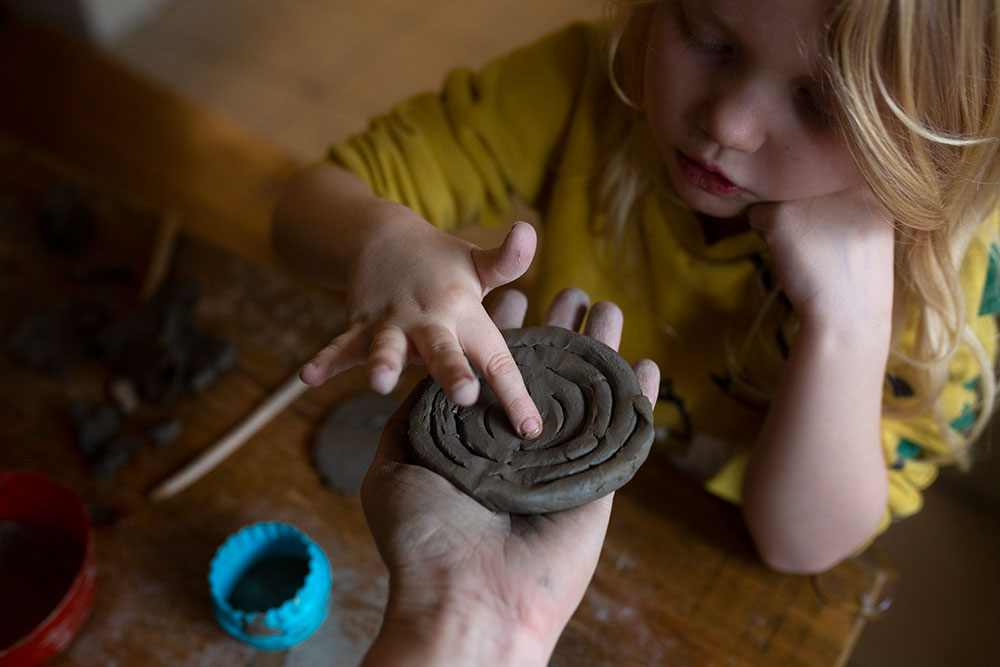
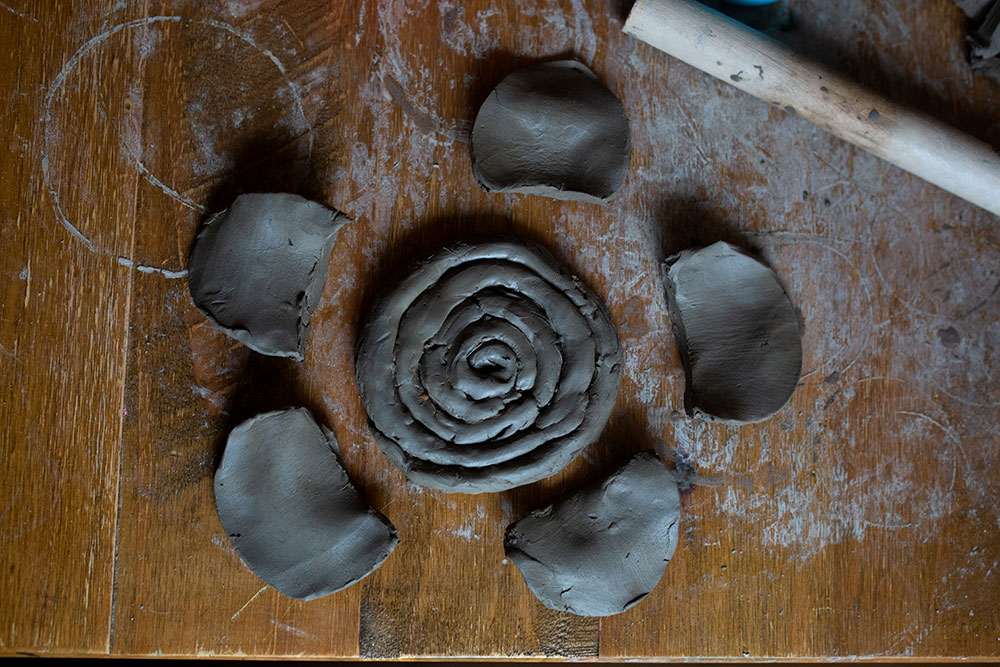
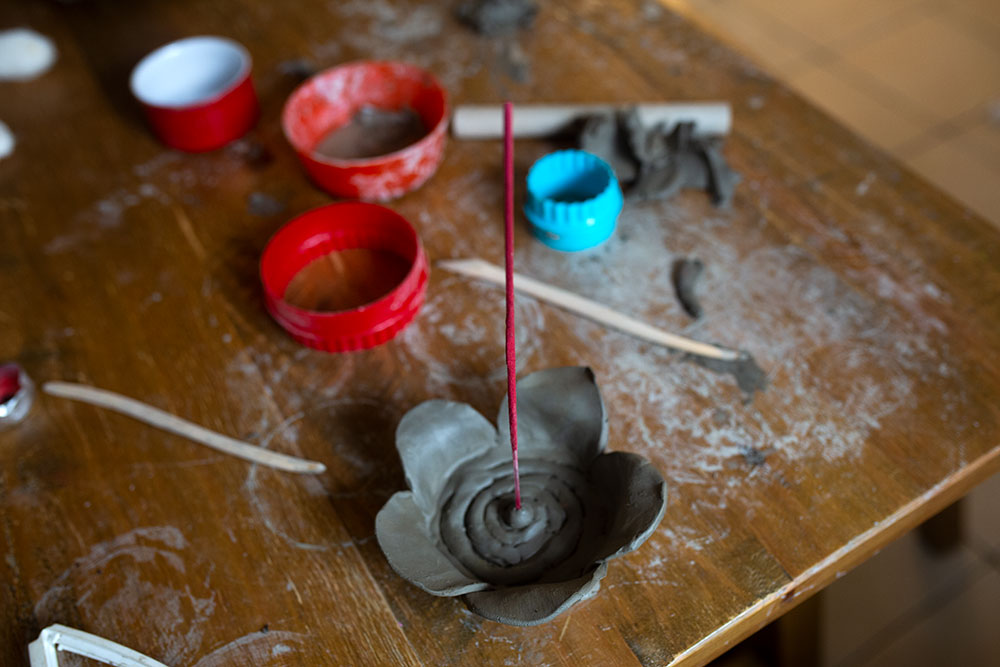
1. First get your clay soft and roll a long fairly thick worm. Then role it up and once you have the size of the base you want unroll it and score the worm. All that means is to make some crisscross dashes into each side that will connect and then when ready add a bit of water to seal it when you roll it back into your base. This will make it stay together, it works a bit like glue. Then smooth the underside of the base, I don't know if you have to do this step but in my mind I think it makes it stronger.
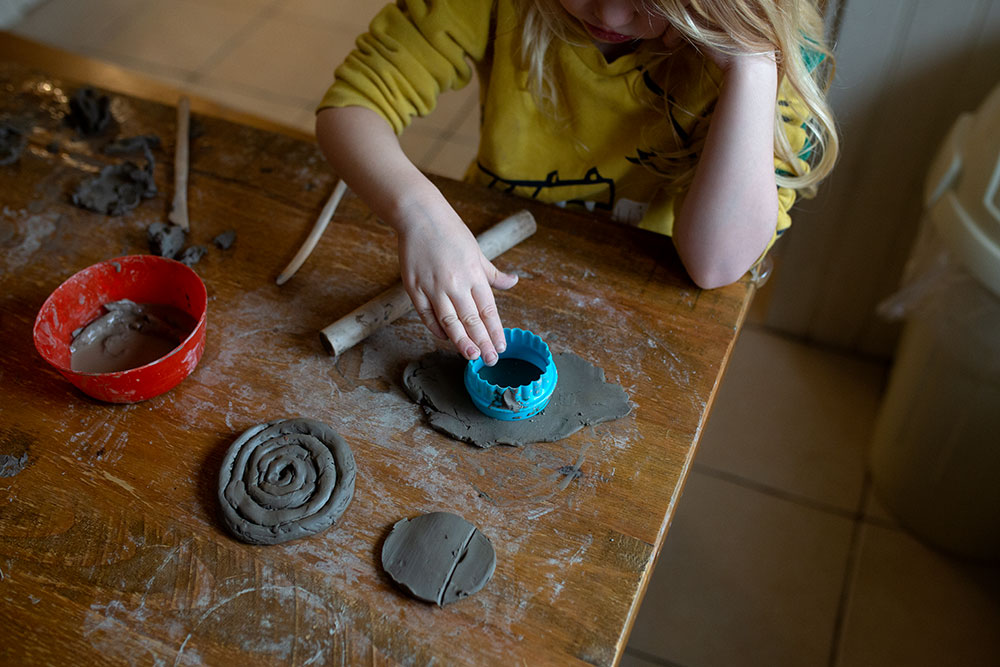
2. Take some more clay and roll it out and use a round cookie cutter to make your petals. Trim off the bottom of the circle and roll it out a bit more so it's not perfectly round. Once you have all your petals, score the underside along with the edges of the base and add a bit of water and attach the pieces.
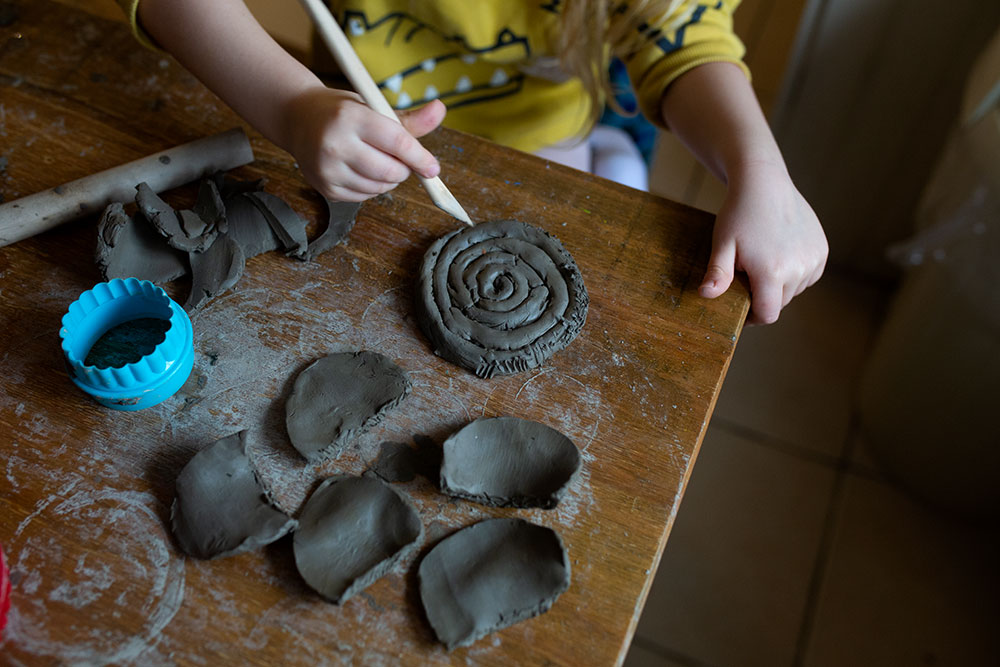
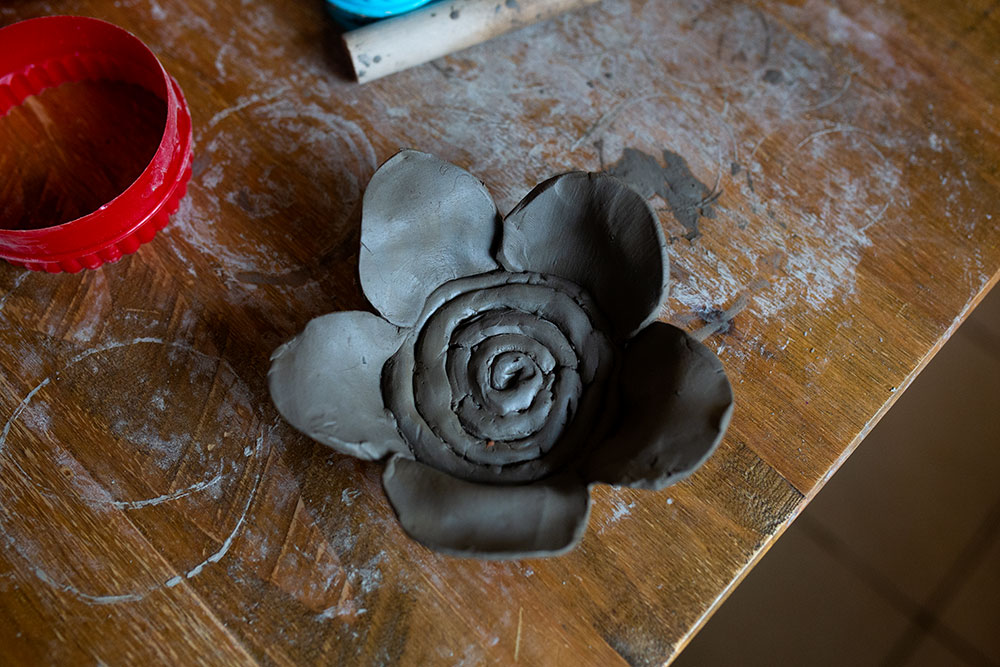
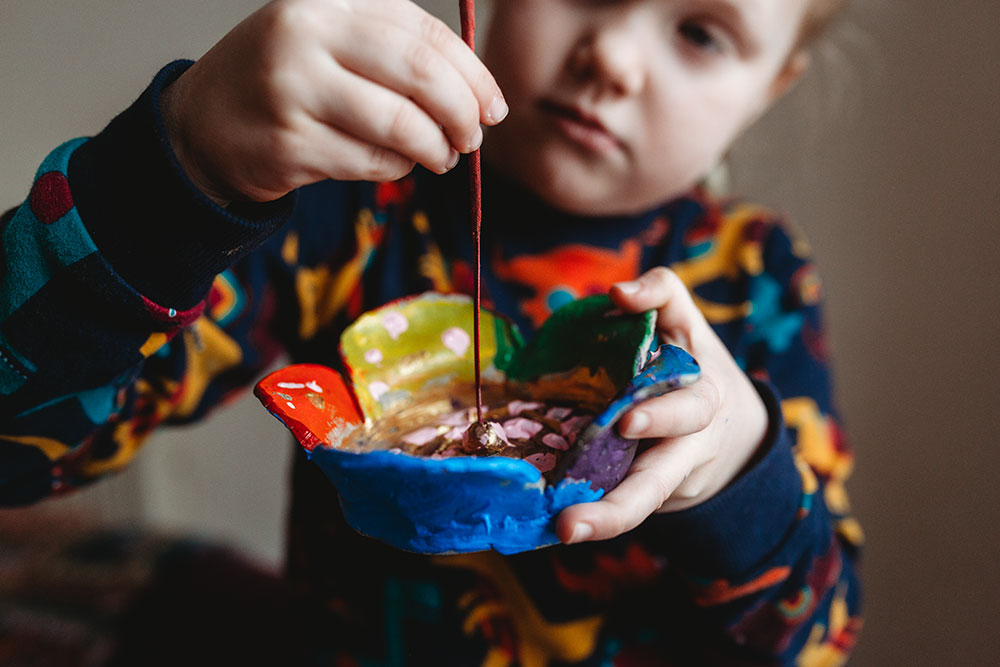
3. Add a little ball to the centre of your base and make a hole in it to hold to incense. Again score it.
4. Let it sit to dry for a few days.
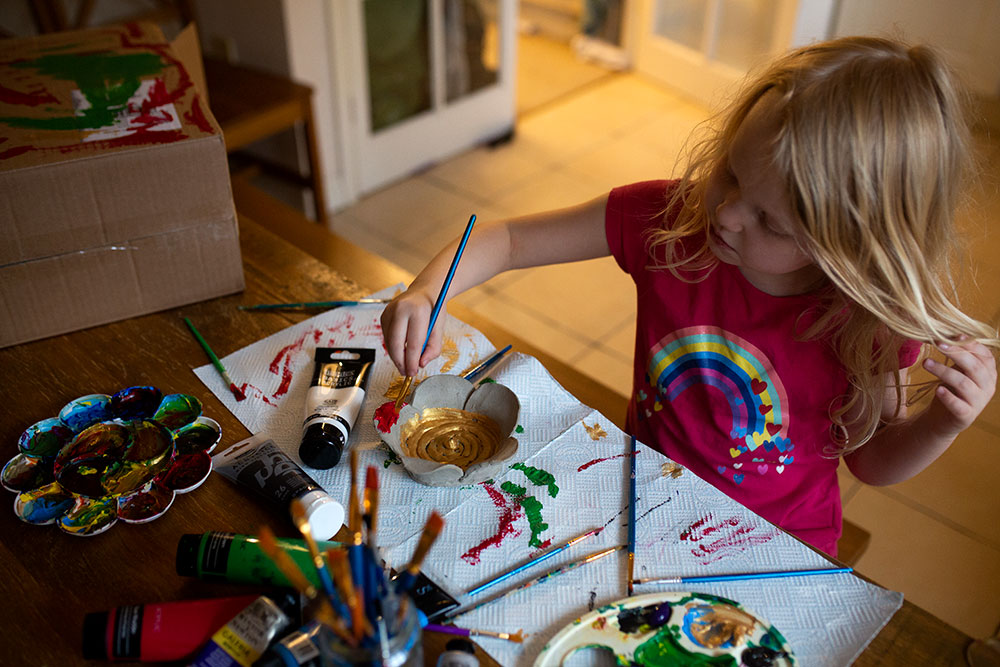
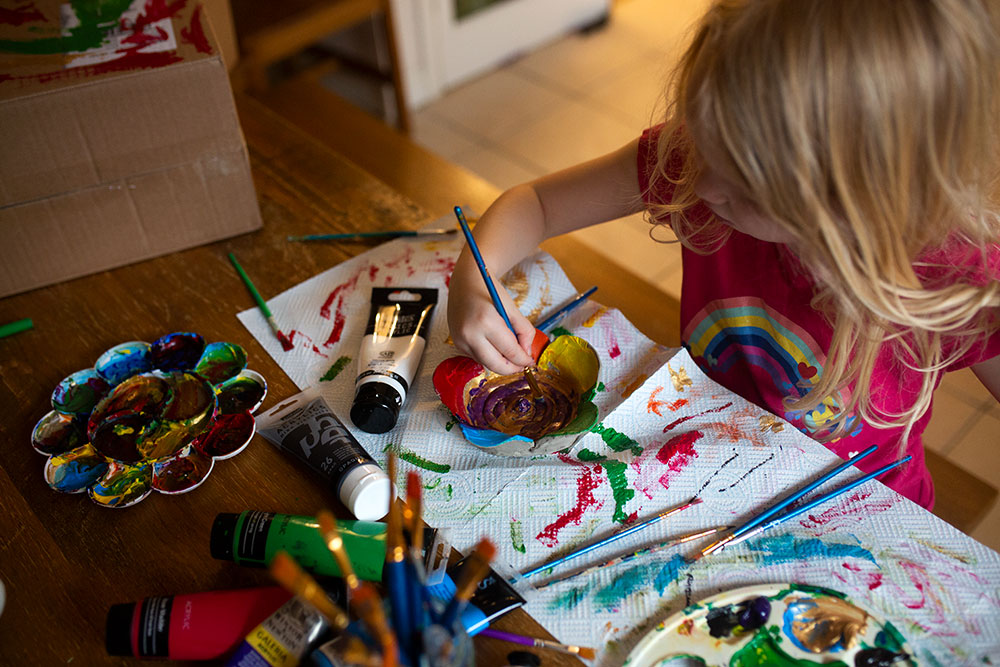
6. Paint it however you want. Nixie really enjoyed this part she said the pink dots was a very special pollen that is extra good for the bees.
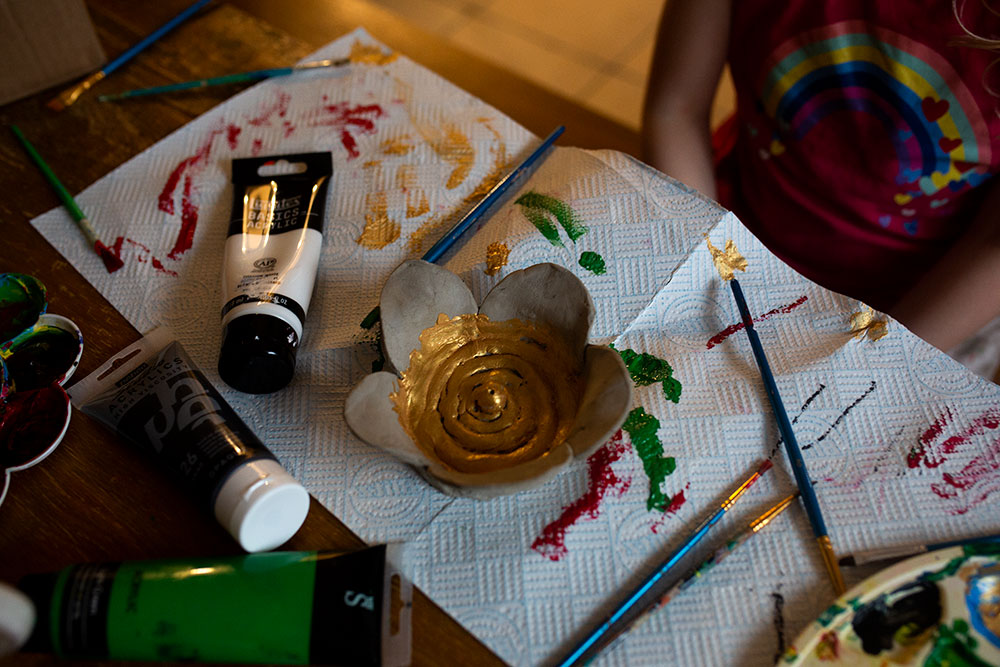
7. Let dry and it is finished!