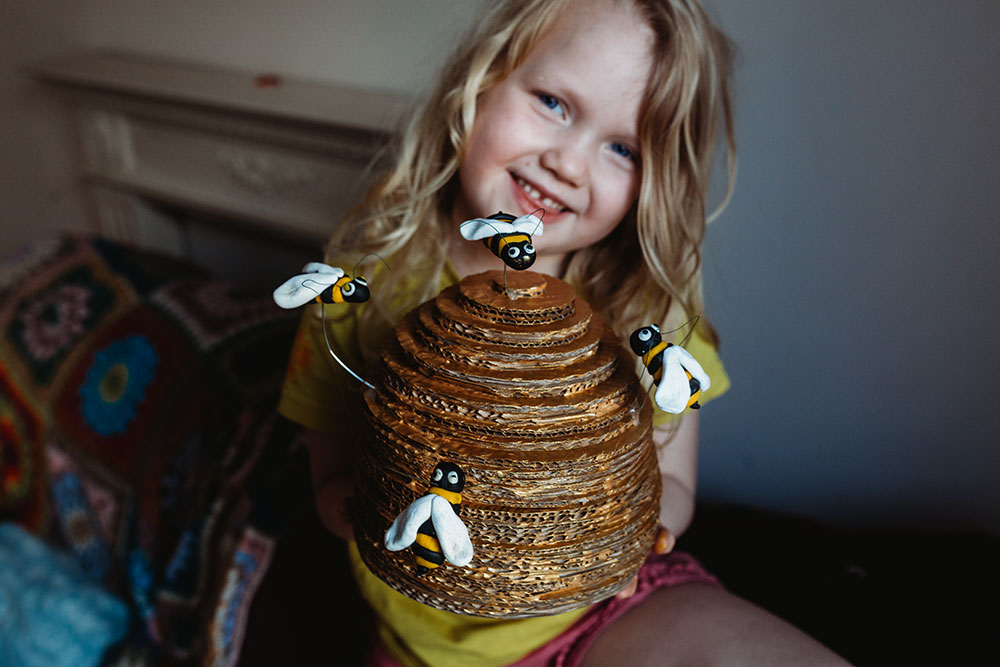
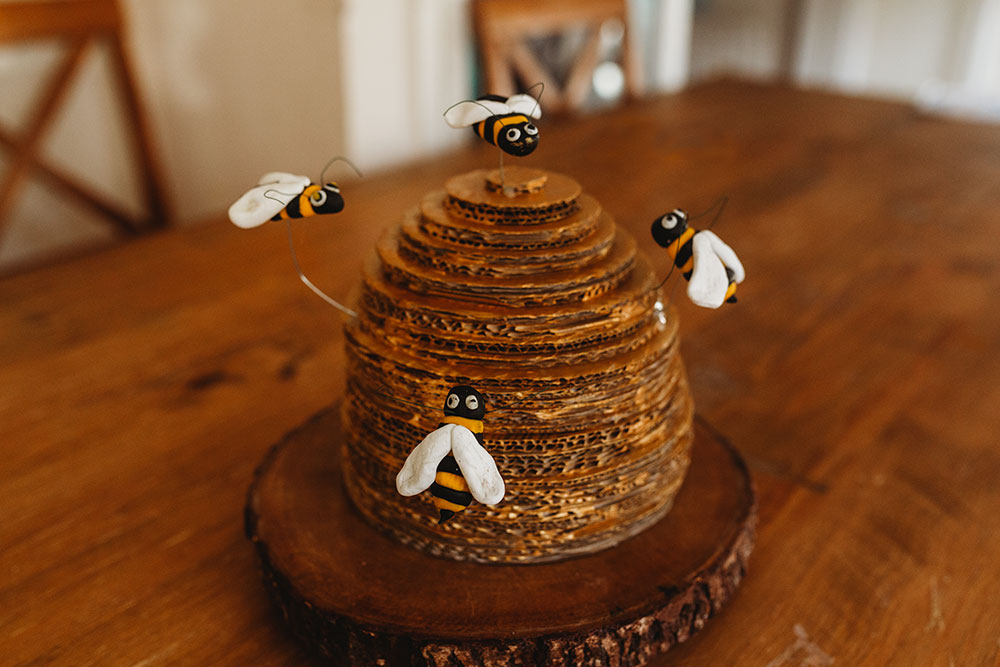
Diy Beehive with Bees!
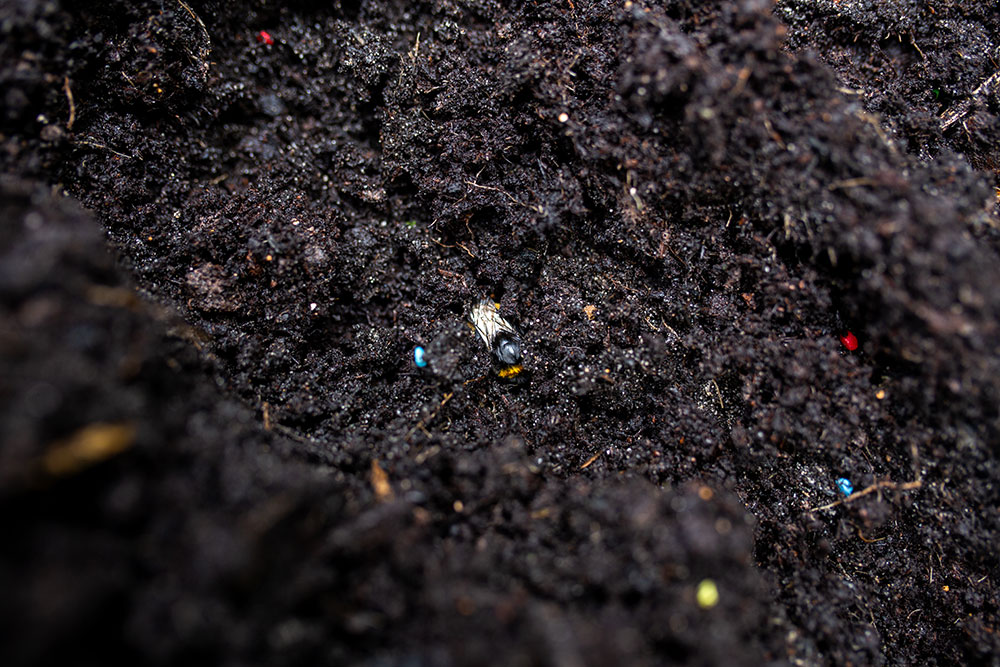
Ever since we found the sweetest little hibernating bumble bee in our garden Nixie has been wanting to learn about bees so this week we've been doing lots of bee related activities and one of those activities has been making our own little beehive with accompanying bees!
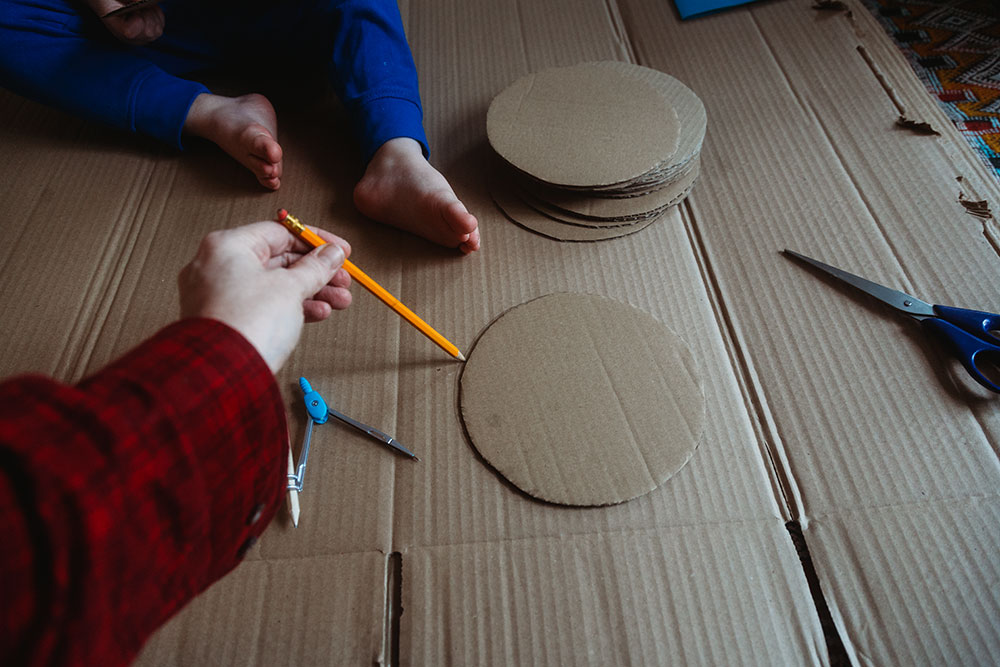
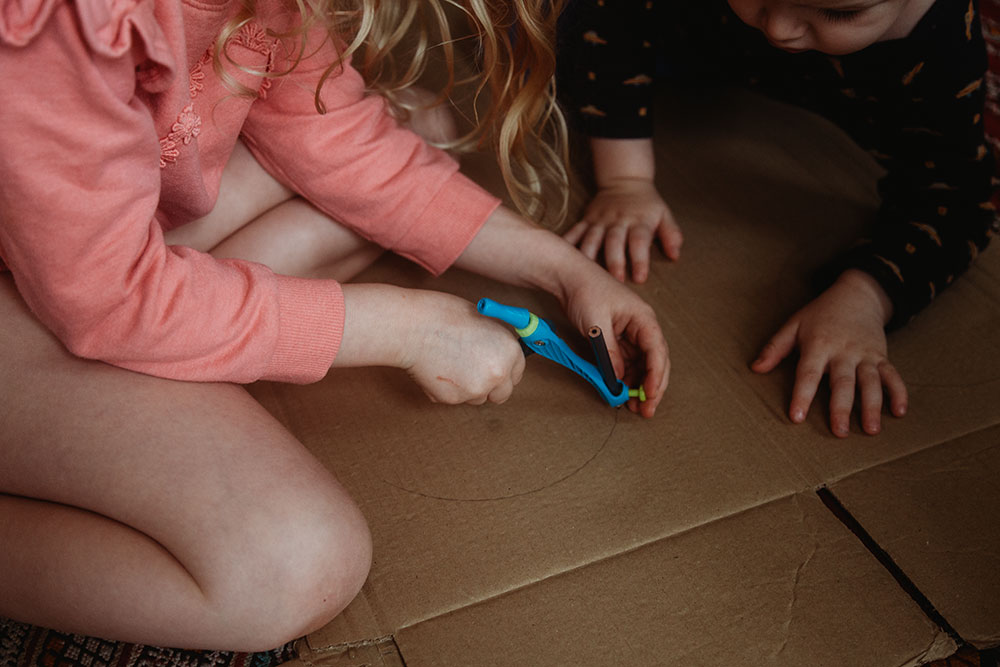
This has been a project of love and took longer than I anticipated, creating the actual beehive was a bit of a pain and my hands actually hurt cutting so many cardboard circles but it was worth it because we really had such a beautiful time working on this together at least when Forrest allowed us too! He was the main reason this took us so long to finish because for some reason every time we tried to make our circles and cut them out he would just want to crawl into my lap for boob or if Nixie was trying to use the compass to make circles he just wanted to swipe it away so we kept having to stop working on it. It's been a bit of a challenging week balancing the needs and wants of both of them!
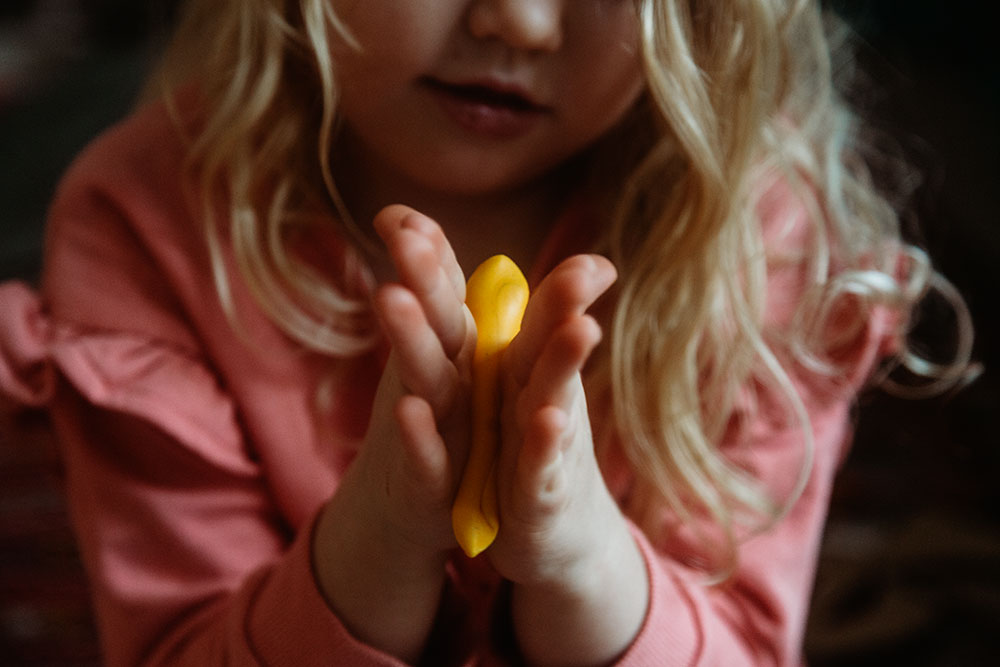
The best part of this project though was making the bees with Nixie. We had a window of opportunity when Forrest had a nap (which is no longer promised every day) and the two of us sat on the floor in our lounge making them. It was such a relaxing thing to do and the whole process was so enjoyable! I made two and she made two and she did it completely on her own, it's the first time she's ever made something intentional using Fimo and it really felt like such a magical thing to share with her, there was such a peace felt around us and the joy that was pouring out of her was amazing and it has inspired her to want to make so many more things (she's already created a long list of things!) so I think we will be sharing a lot more of polymer clay projects on here. I really love introducing new creative mediums for her to explore and to see which ones she really gravitates towards.
Anyways today we finally finished the whole project and I'm super excited to share how we went about it in case you also have some bee loving little people in your life.
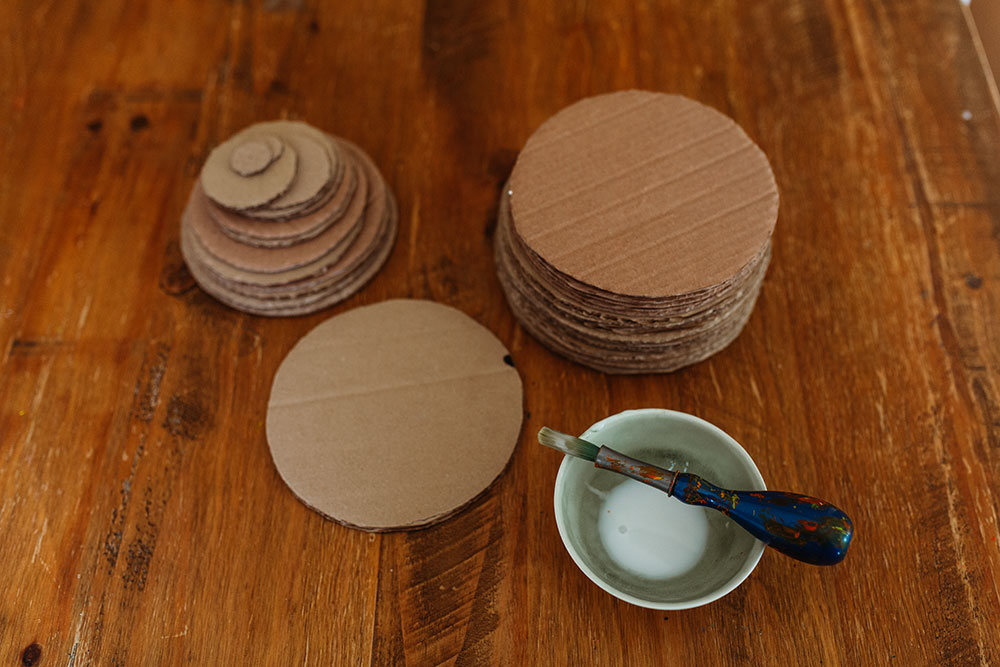
Material:
Lots of cardboard and I mean lots!
A compass
Scissors (a blade would make it much easier and neater but I couldn't find ours and anyways I like that it's rugged)
White glue
Glue gun
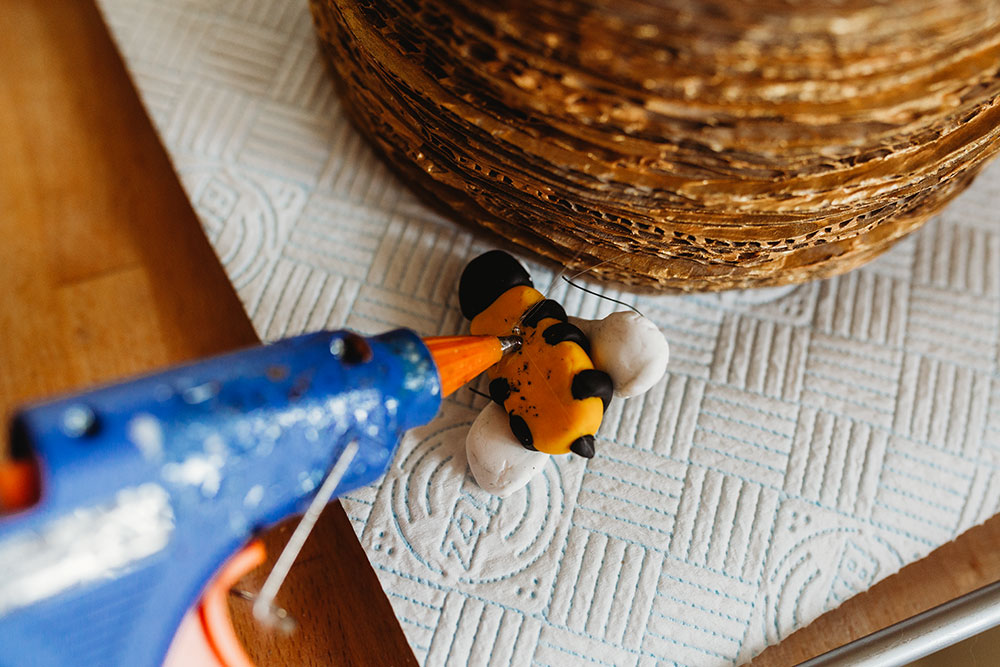
White, yellow, black Fimo or similar
Wire for antennae (I used florist wire)
Wire for attaching bees to hive
Gold acrylic paint
Instructions
To make the bees:
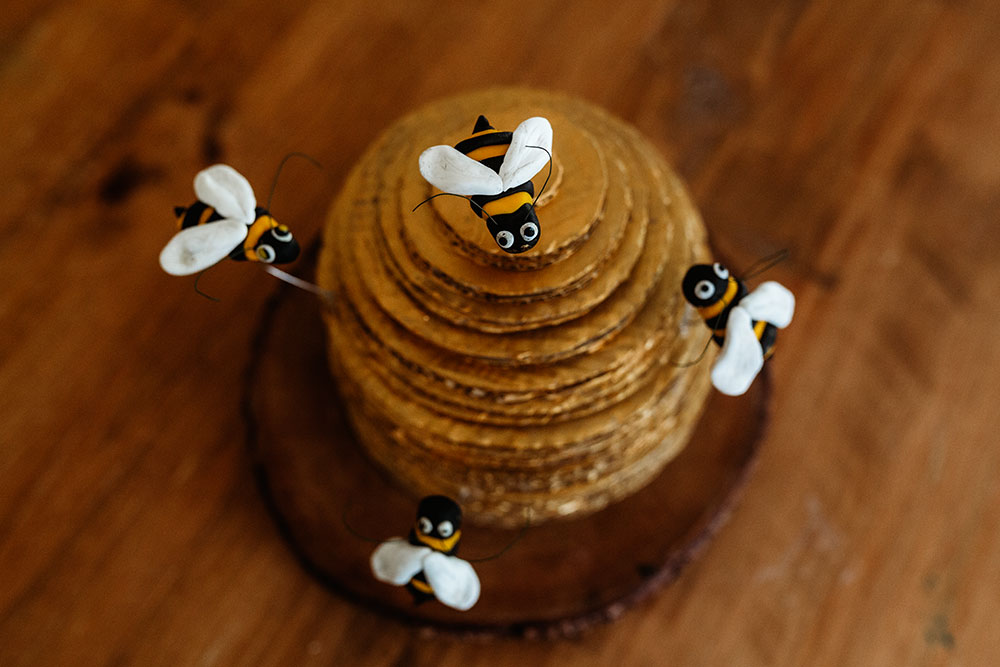
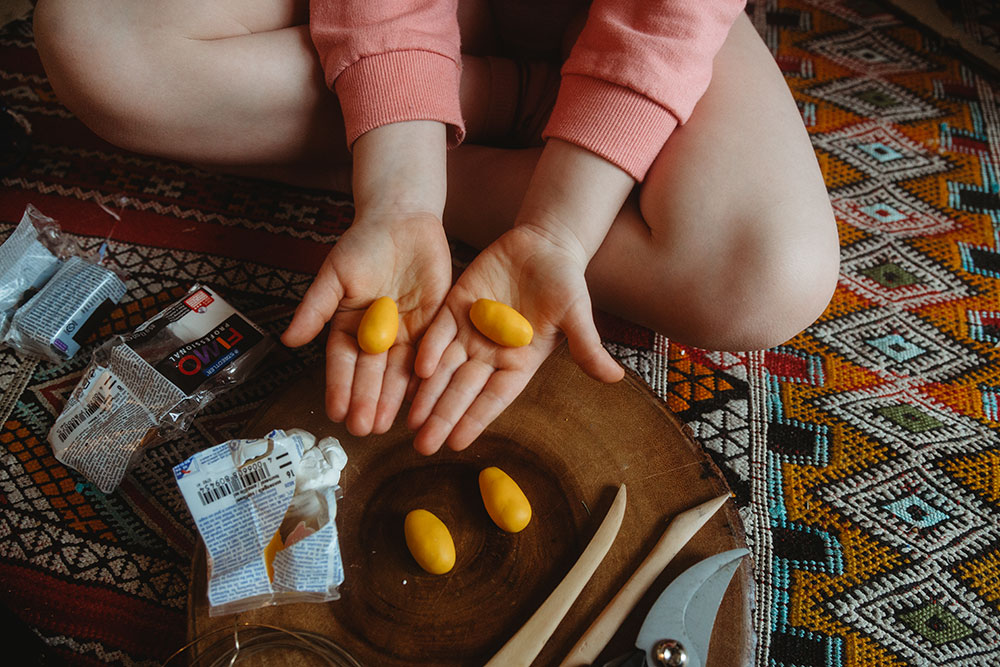
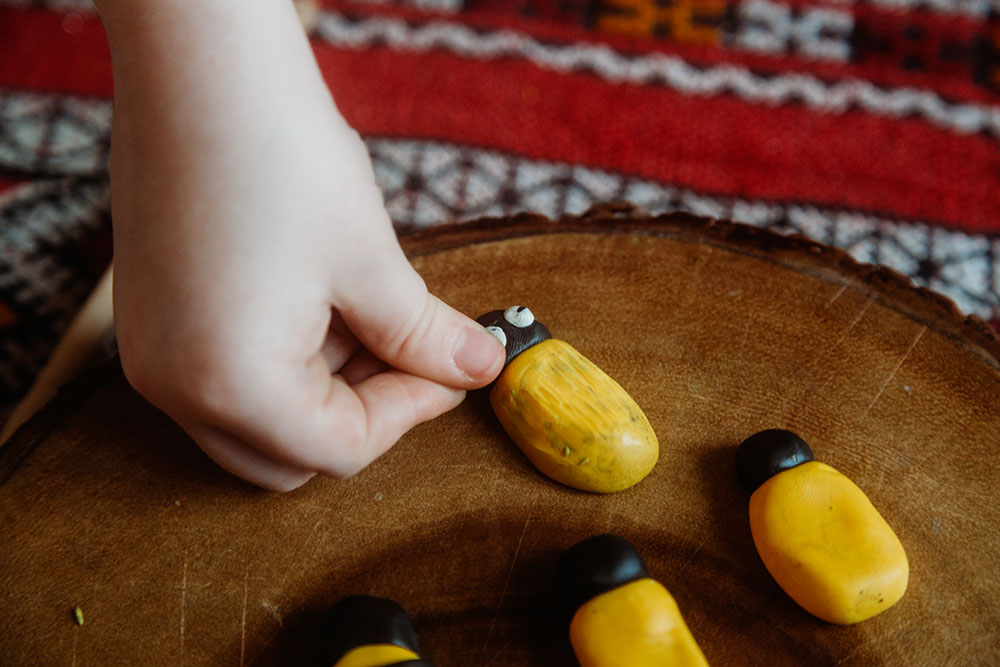
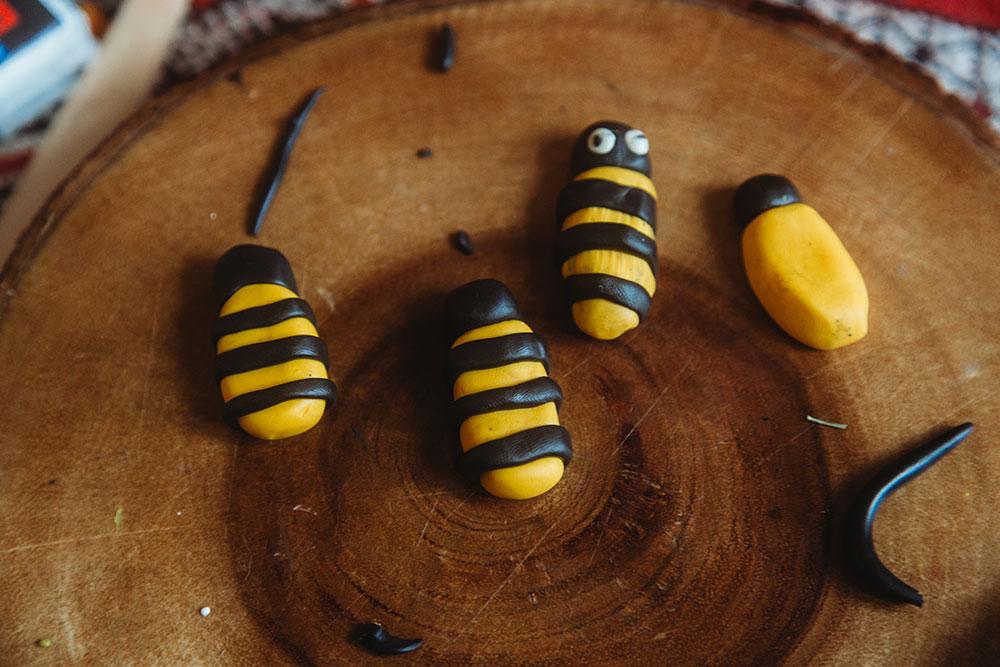
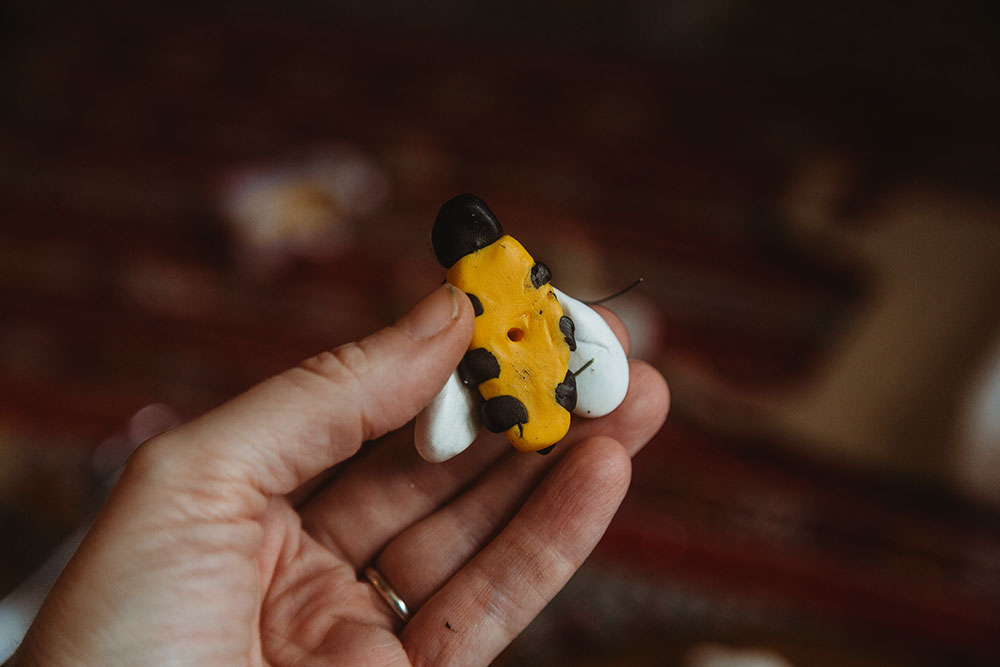
1.take some of your yellow clay and soften it then make them into an oval shape then we flattened them a bit because Nixie wanted to.
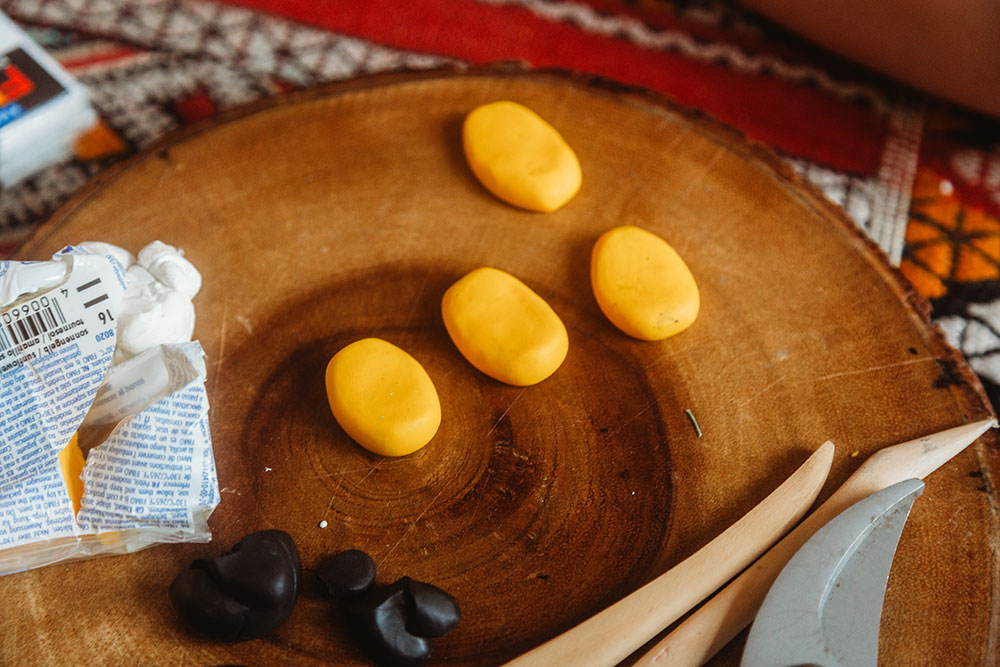
2. Take your black clay and make a small ball to form the head


3. Make the eyes
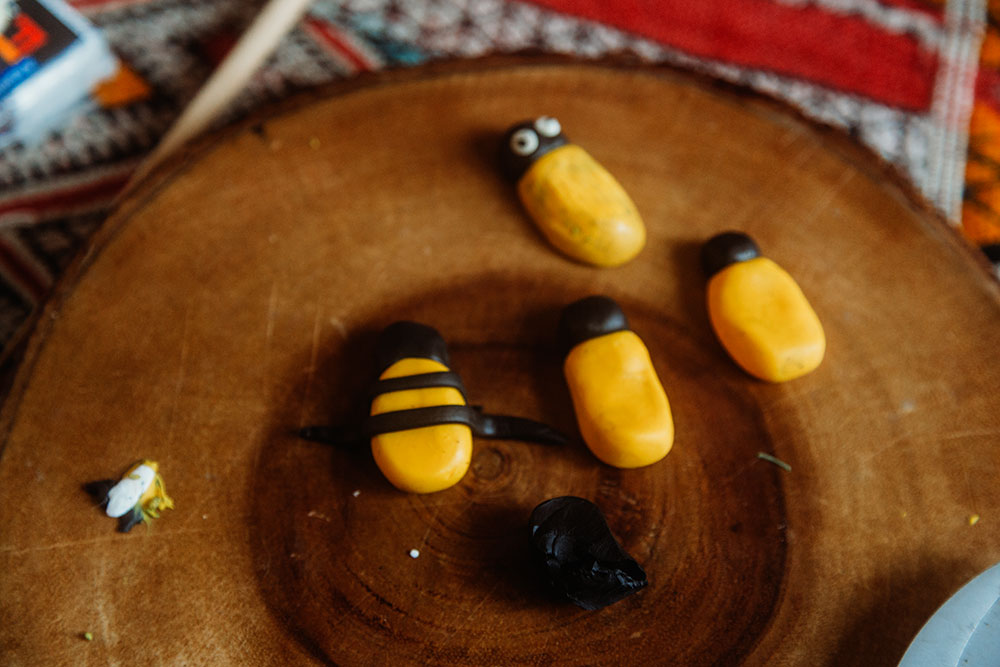
4. Make the stripes by rolling more black into thin noodles and putting it onto the body
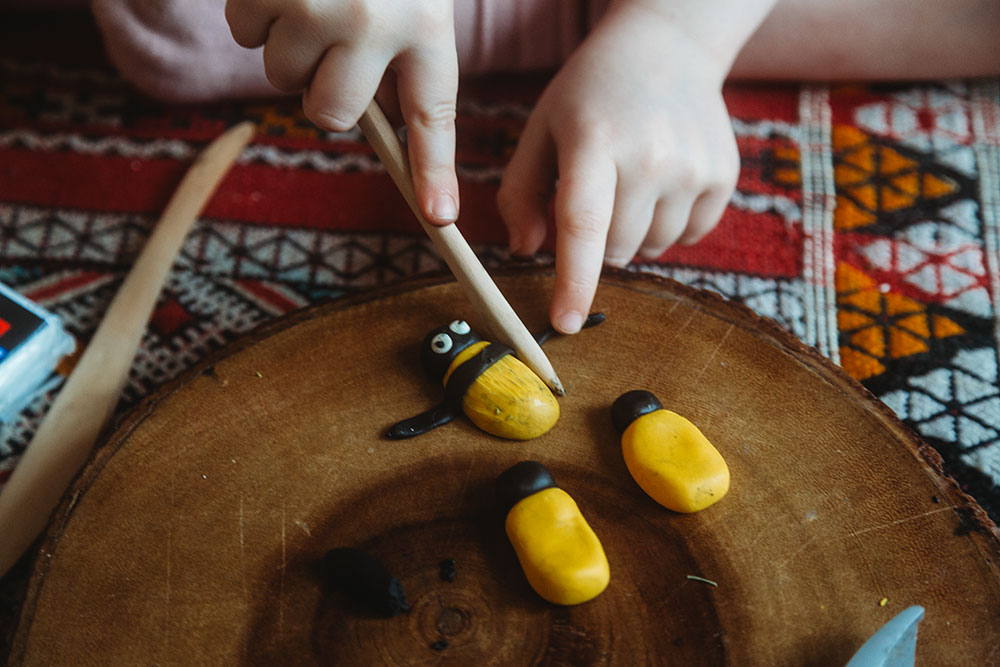
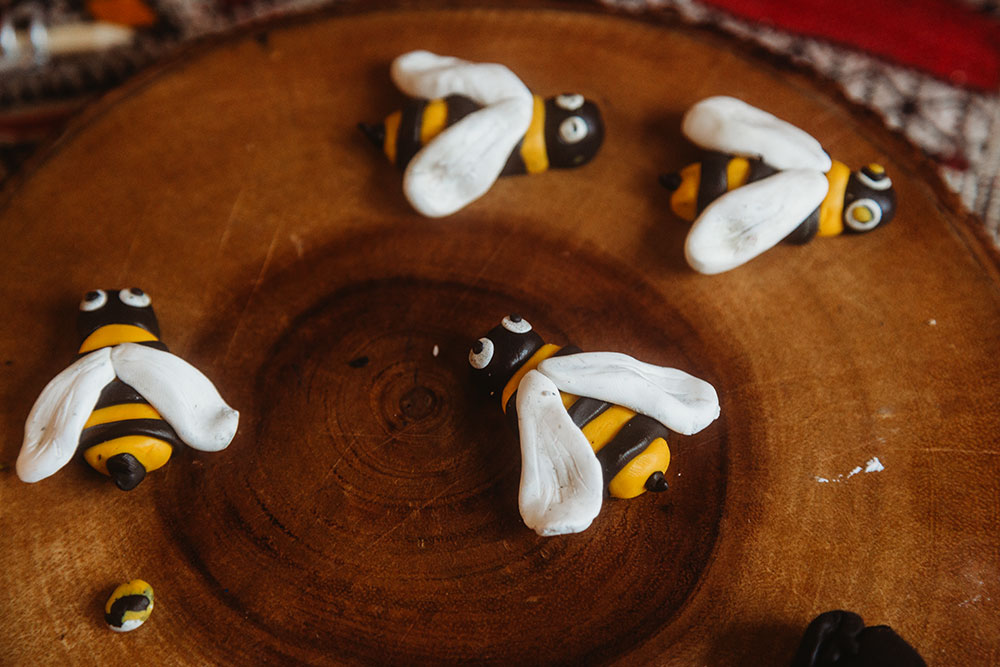
5. Add wings & stinger
6. Add antennae
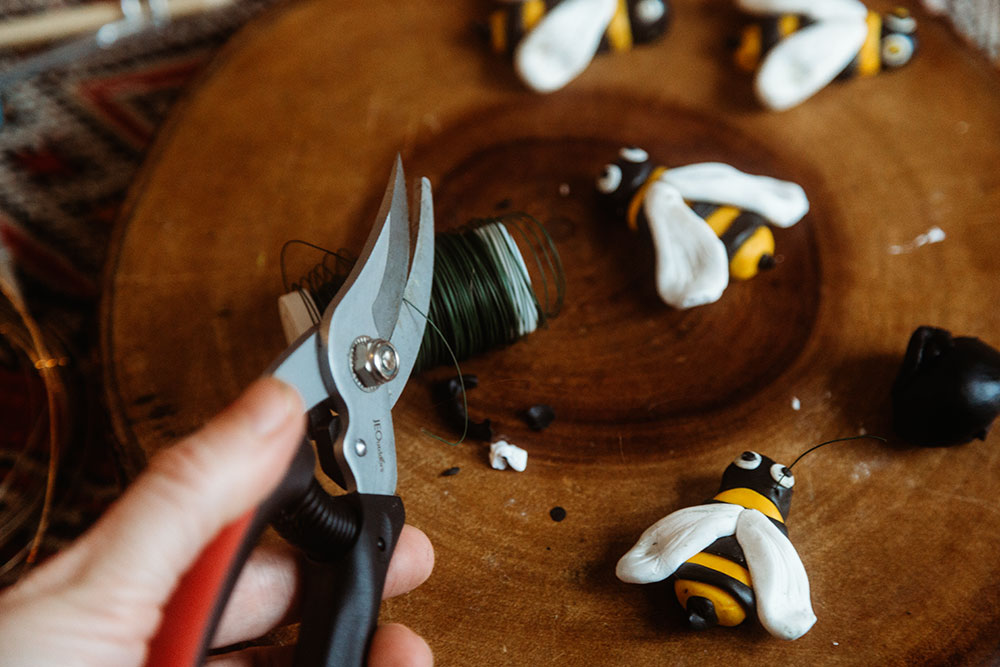
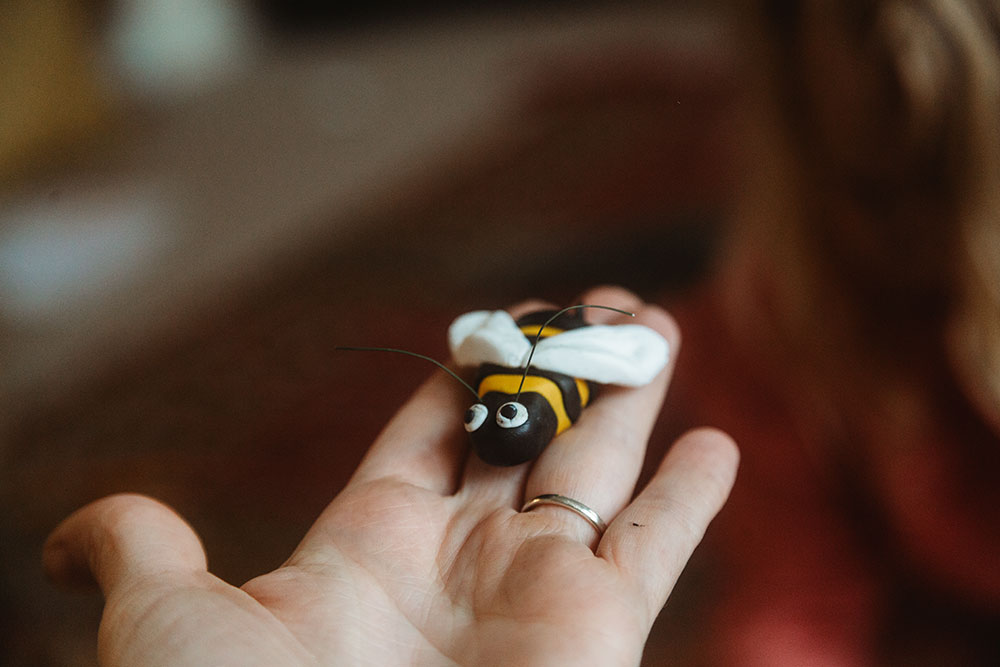
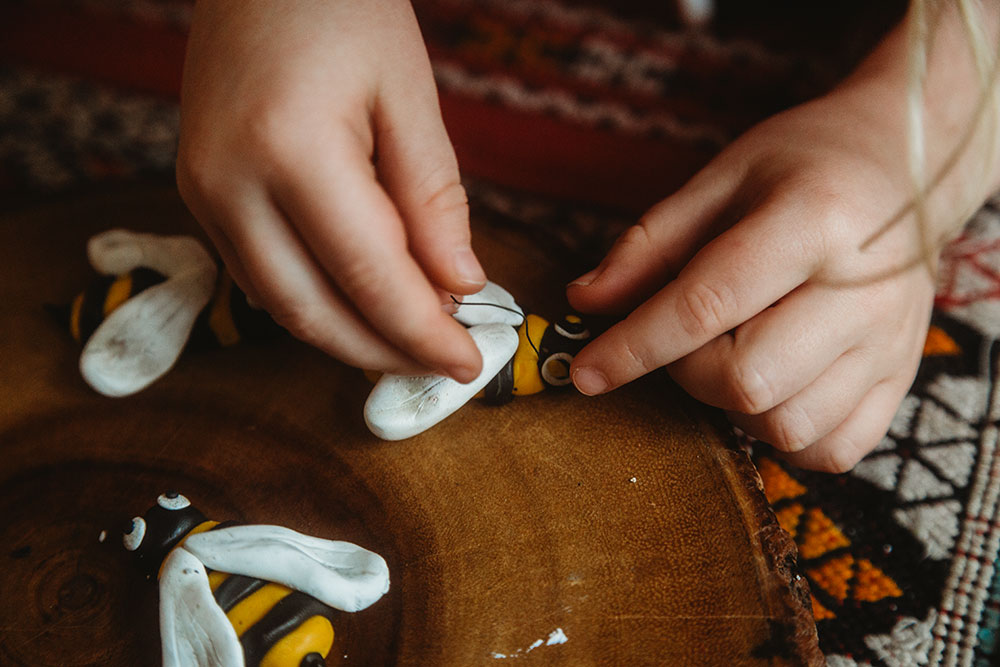
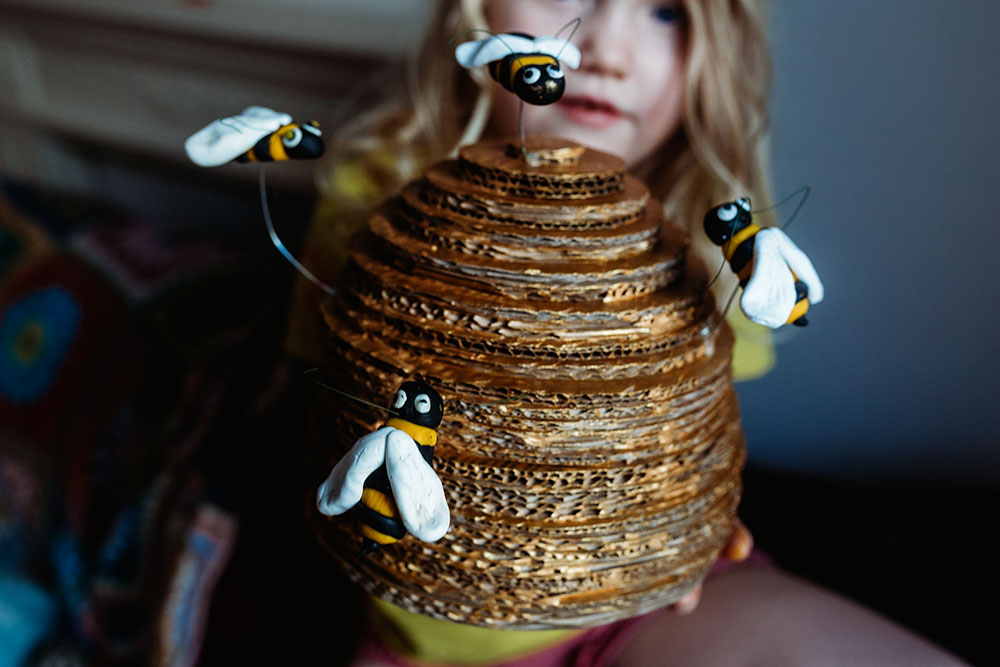
7. Poke a hole with the thicker wire underneath the body (this will be so you can attach it to the hive)
8. Bake in oven for however long the instructions say in your clay.
To make the beehive
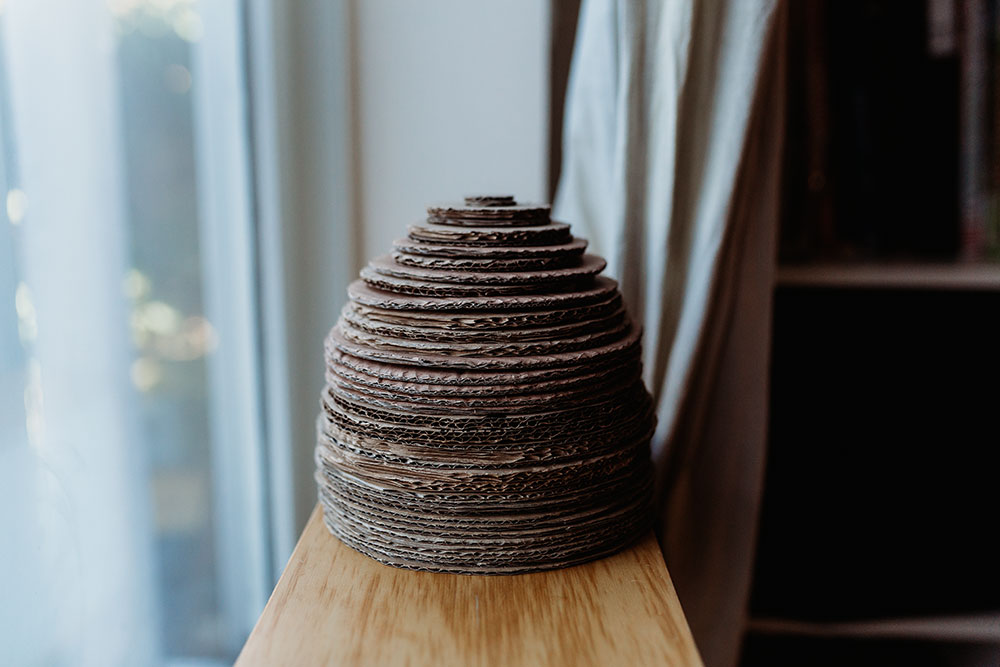
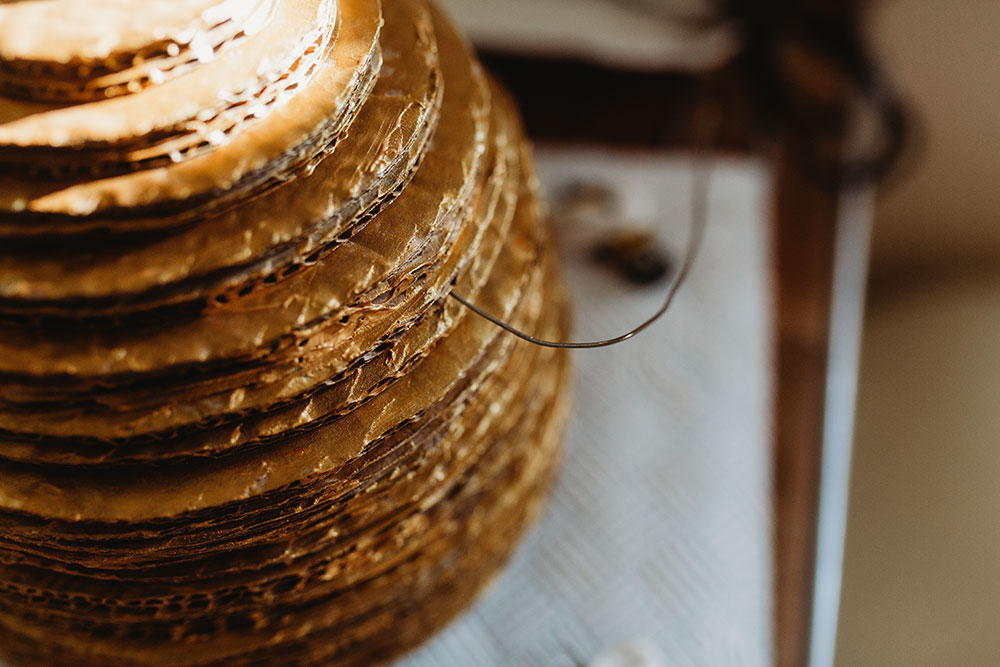
1. Cut circles out of cardboard. Start with making them whatever size you want the base to be. I used about 14 circles that were the same size before making the circles smaller. Then about 6 slightly smaller ones and then continued to make them smaller until it made the shape I want. The last few layers I used two circles of the same size on top of each other. (the bigger you make your base the longer it will take to build!)
2. Once you have your circles cut out and the shape you are happy with it's time to glue it all together using regular white glue.
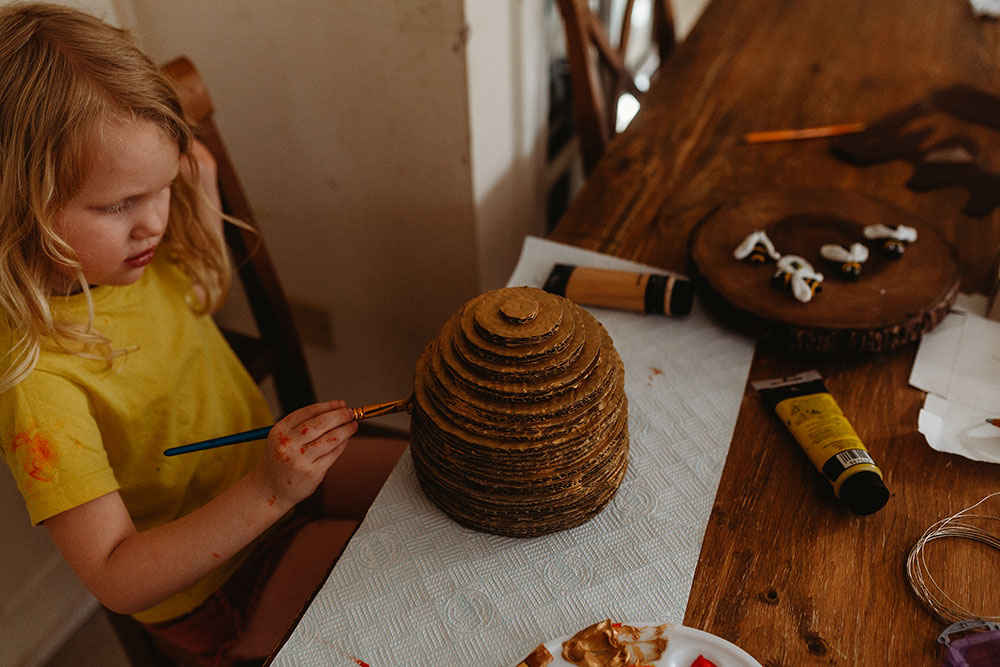
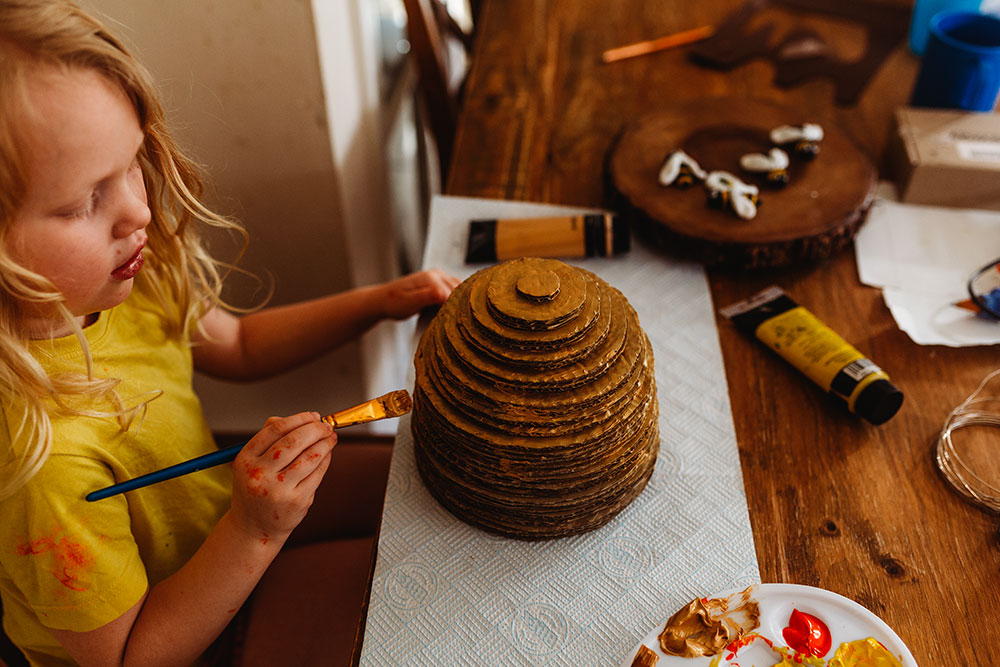
3. Once dry paint it gold using acrylic paint
Putting it all together :
1. Take your hot glue gun and thicker wire and put some glue on it and push it into the hive where you want your bees to be. Add glue around it as well. Let dry. Then add glue to the hole underneath the bee and finally attach it to the wire. Hold in place until dry. Repeat with the rest of the bees and then you're done!
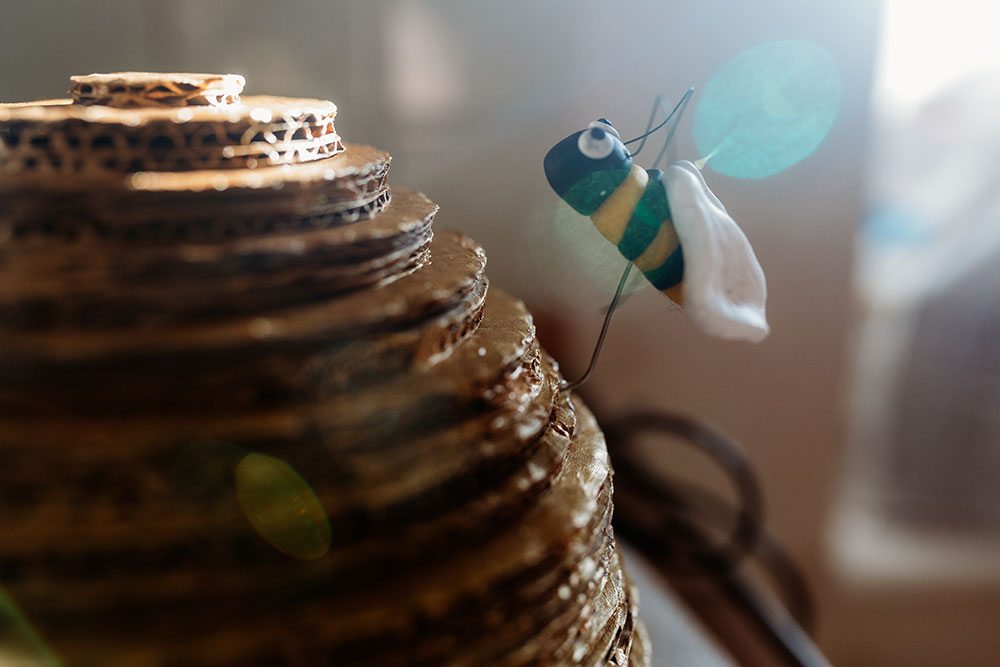
Nixie was so so happy with the end result and so was I!